Updated 1/15/11
Iíve spent a lot of time warning beginners not to jump
into astrophotography right away. Too
expensive, too time-consuming, too frustrating.
And besides, beginners have their hands full just learning the sky and
mastering the use of a telescope. But
is there a way to do astrophotography without the massive investment in time and
expense? Maybe not completely, but
planetary imagers come close.
The hero in this scenario comes from an unlikely source Ė
the cheap computer webcam. It turns
out the chip inside your webcam is just fine, itís the lousy little lens they
stick in front that makes your videos look so bad.
A few years back, people began modding their webcams by unscrewing the
stock lens and attaching a 1.25Ē nosepiece on the end.
Webcams capture video at variable rates, anywhere from around 5 fps to 60
fps. Video is just a bunch of stills
put together Ė at 30 frames per second, a webcam can capture 1800 images each
minute. Through the use of image
stacking software like Registax, it is possible to filter out the images caught
during bad seeing. Then the software
stacks the remaining good ones together to form the final image.
It sounds like black magic but it works wonderfully well.

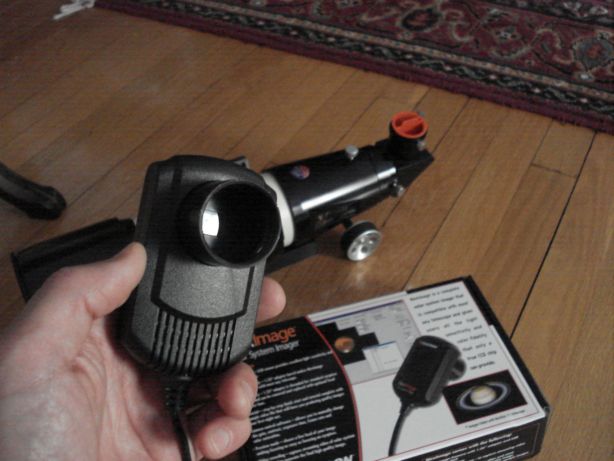
The Celestron NexImage
Many webcams have been used for astronomical imaging, but
the model that people settled on fairly early was the $100 Philips ToUcam which
uses a 640X480 Sony ICX098QB chip.
Alas, the ToUcam has been discontinued (used models have held their value
extremely well on the secondary market.) Luckily,
Celestron is now selling the NexImage, a rebadged TouCam with the 1.25Ē
nosepiece already installed. Theyíve
also bundled it with some capture software and an early version of Registax
(mine came with 3.0.) If youíre
one of these people scouring ebay for a ToUcam, donít bother Ė just get the
NexImage.
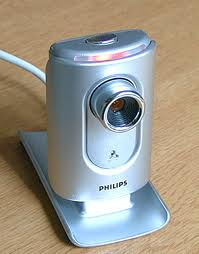
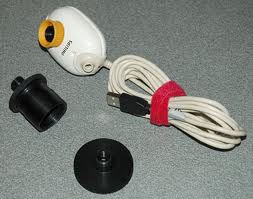
The original Philips ToUcam (L), and with custom 1.25" nosepiece (R)
On paper, this
doesnít look promising. The
chipís resolution is VGA, at 640 X 480. Many
are put off by this when they first hear it.
Donít be Ė itís plenty, and even some of the nicer cameras out
there are still 640 X 480. Pixel
count isnít everything! To make
matters worse, your planetary image isnít even going to come close to filling
up the space on the chip. If you can
get Jupiter 200 pixels across, youíre doing well, and Saturn and Mars are even
smaller. Whatís more, the camera
is a one-shot color device, so your final resolution will be even less than the
640 X 480 spec. And finally, the
NexImage is a USB 1.1 device, so on fast captures, itís going to drop a lot of
frames.
But you know what?
None of this seems to matter in practical use.
The images people have been getting out of this $100 imager are simply
stunning. This was the image I got
my first night out with a TeleVue Pronto at prime focus.
The telescope was sitting on an alt-az mount and was unguided.

Clavius region of the moon just after first quarter
After a few more
nights of playing with the device, I was able to get the following on a borrowed
Orion 8Ē f/4 Newtonian Astrograph. A
Meade 3X barlow was used to boost image scale.
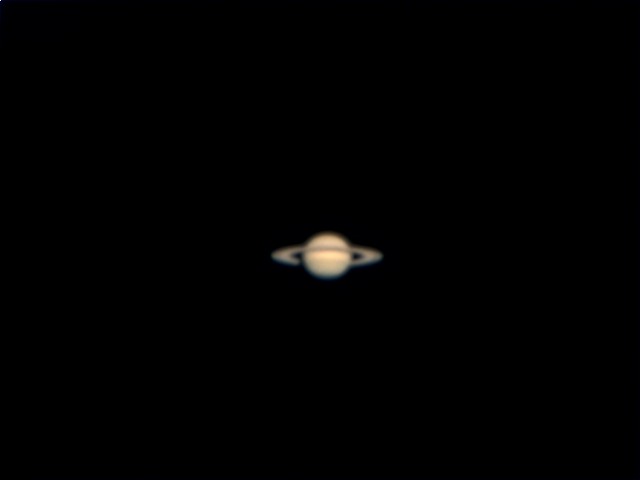
Hereís Saturn through the Celestron C6 SCT on a CG-5 mount. A TeleVue 2X barlow was used to boost image scale.
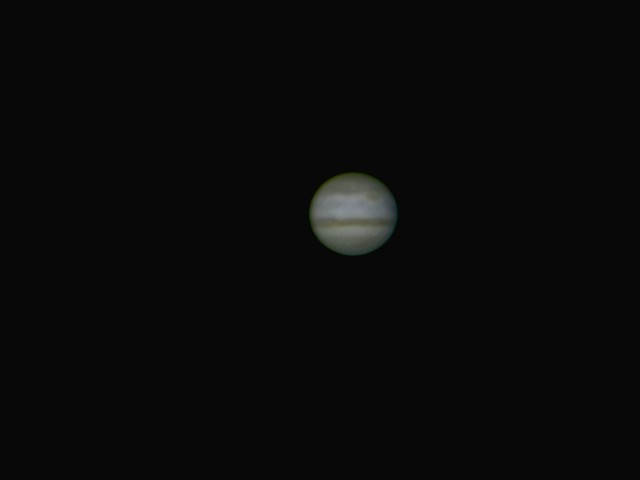
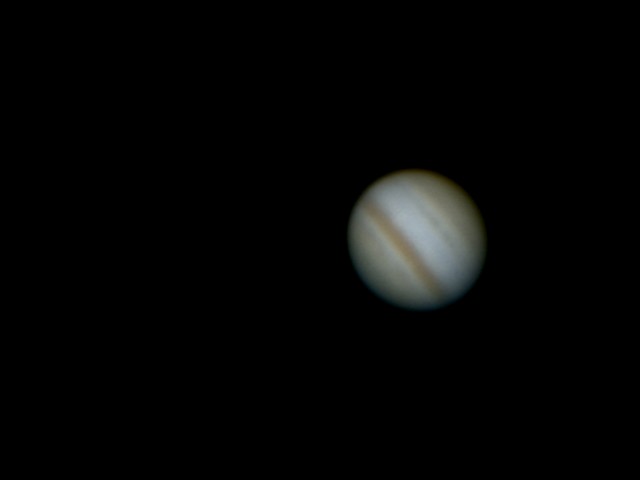
Jupiter through the C6 with a 3X barlow:
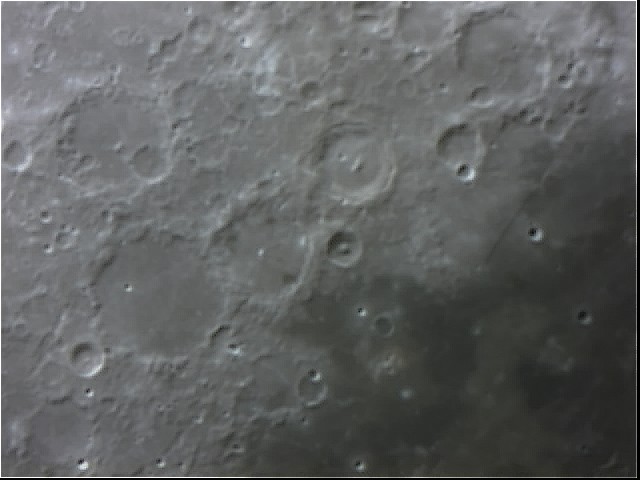
Ptolemaeus, Alphonsus, and Arzachel through the C8
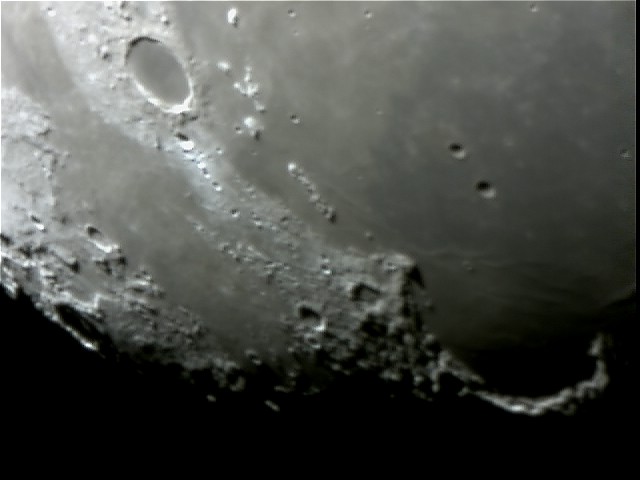
Plato through the C8
Some random hints and observations:
Here's an example of an out of focus image. I have lots of these.


Iíve been having a ball with the NexImage and have been imaging everything in sight through every telescope that comes my way. I bought another one as a spare in case they stop selling them. Iím also trying to rationalize upgrading to one of the cameras from The Imaging Source ($350 - $570.) But that, as they say, is another story. The NexImage is the most astronomical fun Iíve ever had for $100 Ė highly recommended!
Sidebar: From Duck to Swan - The Magic of Registax
Stacking has revolutionized planetary imaging. You can download the latest version of Registax for free here. If you haven't seen this before, the software really is quite amazing. Here's a step by step process showing how the raw video is stacked to make a final image.
Step 1 - Find a suitable reference image. This particular frame isn't very good, but you can keep manually inspecting them until you find one you like. There are 2000 to choose from in this .avi.
Step 2 - Align the images. This used to be a big deal, but now all you have to do is select a high contrast area, push a button, and the software does the rest. Technically, you don't even have to be tracking, but it does help. In this example, you can see I've set the gain a little too high (the image is a little noisy.)
Step 3 - Limit, Optimize, and Stack. Once stacked, you can see the image is "smooth and fuzzy" which is actually good.
Step 4 - Process wavelets. This is a bit of a black art (I've found very few people who can agree on which sliders to move and how much) but by moving the 6 sliders to the right, you can bring out detail. Don't do too much, as you'll increase the noise level. Registax also contains some basic image processing features. You can adjust color balance, gamma, brightness, contrast, RGB levels, and more.
End Sidebar